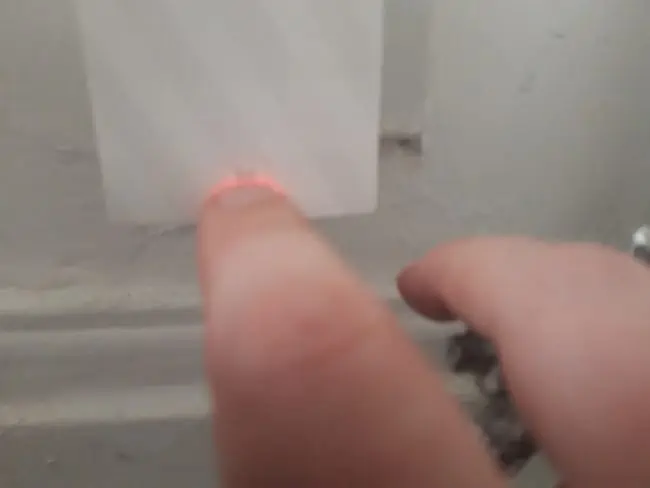
I’m using a Wi-Fi extender myself at the moment and I do periodically get this problem. The connection on the devices connecting to the extender drops (it often says “connected, no internet”), and when I check the extender, the light has turned red (on some extenders, it’ll be orange). What’s going on here and how do we fix it?
If the LED on an extender has turned orange/red, it is most likely because it has lost connection with the host router, or has an inadequate signal. Moving the extender closer to the router to refresh the signal often fixes this problem.
If the extender is brand new out the box, then the light is red because it hasn’t been connected to your router and configured yet. See our guides for this – you can set up an extender on a device browser or using the WPS/Pair feature on your router. It’s usually an easy process.
Although brand function varies, an orange light usually means there is technically still a connection, but your extender is too far away from your router, and needs to be moved closer to an adequate signal.
Occasionally, with extenders that have already been set up, it can be another problem that’s causing this, so let’s examine all the possible fixes for this problem.
Check Your Internet Service
The very first thing to check before anything else is that your entire internet service isn’t down. Check that other devices can connect at least to the main router. If they can, you know it’s the extender that’s the problem.
You can also check the status of your internet service on Downdetector or another tool, or via your provider’s Twitter help/support page. This is the first thing to rule out.
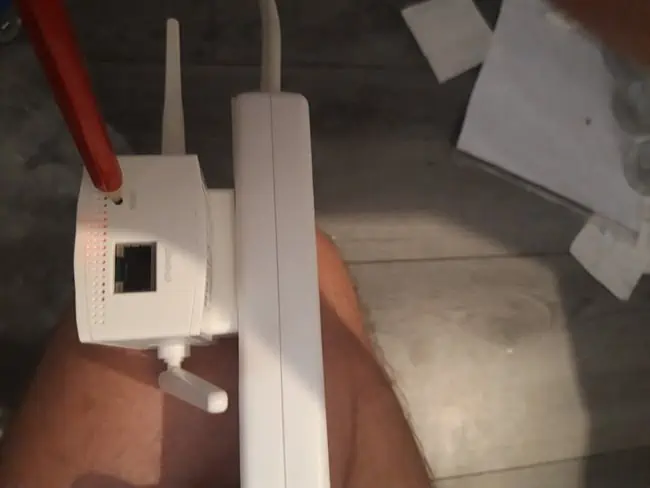
Main Solution – Try Moving The Extender
This is the most common reason for this error – the extender has lost connection with main host router, so it can’t forward on data anymore.
Therefore, your devices might still be connected to the extender, but the extender can’t connect to the router any more (hence the “connected without internet” error that often comes up on your Wi-Fi network list). If the LED is red, this usually means there is no connection at all.
The fix for this problem is easy – just move the extender back close to the router for a few minutes (you can unplug and move extenders as they save custom settings once configured).
Sometimes the extender just needs to refresh it’s connection with the main router, and from there, you can either leave it where it is if the signal is still good, or move it back where it was before.
To get the best performance from an extender, you might need to try it in different places.
Here are some tips as to where to place the extender for the best signal:
- Try to find an outlet without obstructions, and halfway between the router and “dead-zone” (where this isn’t possible in houses, you’ll need to experiment using it in different sockets and see what works best).
- Make sure the extender is in range of the router so it can ALWAYS pick up it’s signal and not drop out
- Try not place extenders behind or under furniture or other obstructions
- If the extender has got antenna, point them in the direction the signal is needed, and the router as well if possible.
- The more walls the signal has to travel through, the less likely performance is guaranteed
- In open plan spaces, try to place the extender in direct line of sight of the router
- In more difficult situations in houses where your router and “dead-zone” are diagonally opposite (eg. The router is installed in the front lower room and you need the signal reach the upper rear room), it’s more tricky and may need some experimentation. I’ve got this problem right now, and I get the best results plugging the extender in on the upstairs landing. It’s still close enough to the router that it can pick up it’s signal, so it works quite well. Try downstairs and upstairs sockets and see what gives the best speeds/signal.
- When the signal is needing to travel through more walls, use the 2.4 GHz band on dual band extenders, since this works better over distance and through objects than 5 GHz.
Update Extender Firmware
On rare occasions, the firmware of the extender might need updating. Honestly, extenders are pretty simple devices and don’t often need updating, but occasionally updating it might fix a red light problem.
This can be a catch 22, because to download the necessary updates, you need to be connected to the internet, and the red light error indicates you aren’t! But there’s a couple of ways around this.
Here are the general steps to update:
- EITHER: Plug your extender in a place where it CAN connect to the router and get online, OR: download the firmware updates to a separate device via your main router and upload to the extender manually.
- Connect to the extender’s network.
- Type in the login URL (eg. tplinkrepeater.net) into a browser address bar, and enter the admin username/password (these are all found on the label, or custom values you’ve set them to).
- Once inside the extender’s admin/settings panel, there will be a section on Settings/Firmware/Maintenance/Updates/Advanced or similar. Browse around for it.
- Follow the steps to update the extender’s firmware to the latest version. If you can get online via the extender, this is easy. If you can’t you’ll have to do it manually, but it’s very rare to have to do this.
Here are links to firmware update help guides for common brands:
Factory Reset & Reconfigure Extender
If you’re tried all these steps and you’re still getting the red/orange light error on your extender, a last ditch option is to reset the extender to factory default and re-configure it again totally from scratch.
Firstly, here’s a few preliminary steps:
- Note down the defaults listed on the label as you’ll need them for setup.
- Plug the extender somewhere close to the router where you know it would get a signal if it’s still working.
To do this, push a sharp object into the reset hole on the extender when it’s plugged in, wait for the light to flash or go out, and wait up to 30-60 seconds for it totally reset.
Then run through the entire setup process again from scratch, setting up new access credentials and then connecting the extender to your router to set up a new network.
You’ve got two main ways of doing this – via a web browser on a device, or using the quick WPS method.
Using a device browser:
- Find the extender’s SSID (network name) on your device and connect
- Open a web browser and type in the access URL
- Enter the default username/password
- Set up a new SSID/username/password if desired
- Find and connect to your router’s Wi-Fi network.
- Either copy or modify your router’s credentials for the repeater.
- Save settings and connect the device to the new network.
- A green light indicates the repeater is connected and working.
See our full article on extender browser setup for more detailed steps.
WPS/Pair method:
- Plug the extender in near the router for initial setup
- Plug your extender in and wait for it to initialize
- Press the WPS/Pair button on your router until it flashes/blinks
- Press the WPS/Pair/Connect/Wi-Fi button on your repeater. Sometimes you need to press and hold for a few seconds until it starts blinking.
- Give up to 2 minutes for the router and extender to “find” each other via the WPS feature.
- Once the LED on your extender turns solid green, you know the router and extender are connected.
- When setup via WPS, your extender will share the same network name (SSID) and passwords as your main router.
See our full article on extender WPS setup for more detailed steps.
If you’re still getting this red/orange light error even after a factory reset, and you cannot even start the setup process, it’s likely extender is broken and needs replacing (see our page for some models)
